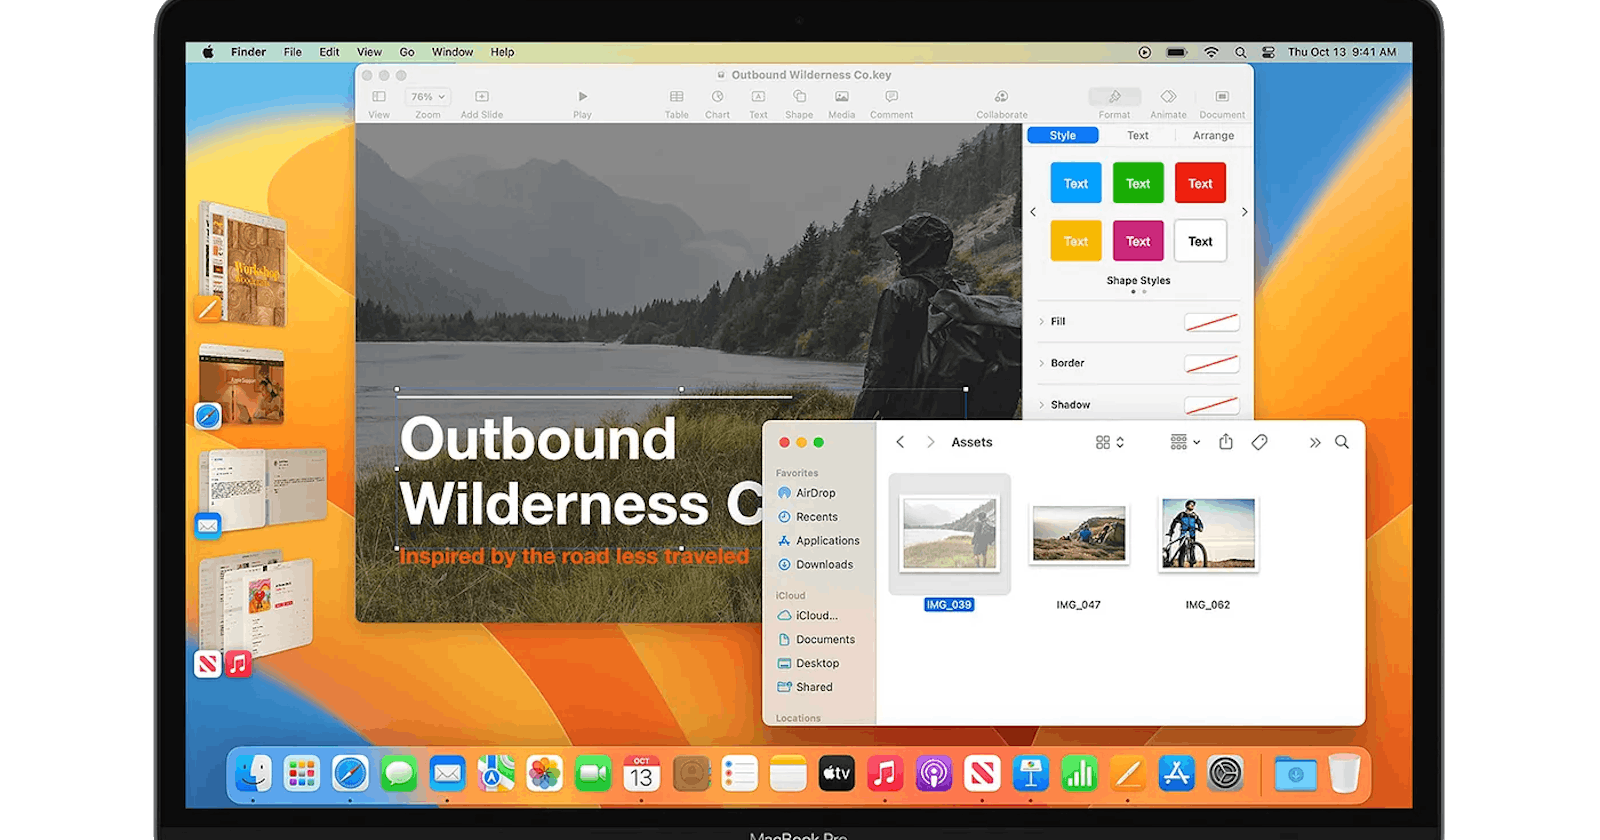
Apple introduced Stage Manager in iPadOS 16 and macOS Ventura, completely revamping how you can manage your workspace on these devices. It's a powerful multitasking tool that lets you create multiple app groups, bringing a whole new level of organisation and efficiency to your workflow. This blog post will be your guide to mastering Stage Manager. We'll cover everything you need to know, from setting it up on your compatible devices to using it effectively to boost your productivity.
Before we dive in, let's take a quick look at what Stage Manager is and why it's such a game-changer.
What is Stage Manager and Why It Matters
Imagine having a virtual workspace where you can arrange your apps just like you would on a physical desk. That's the core concept behind Stage Manager. It lets you create groups of related apps and switch between them seamlessly, keeping everything you need for a specific task at your fingertips.
This functionality is particularly beneficial for iPad users, transforming the device into a true multitasking powerhouse. But Mac users can also leverage Stage Manager to organise their workflows and enhance their productivity.
Now that you understand the potential of Stage Manager, let's get it set up on your device!
Setting Up Stage Manager
Using Stage Manager is straightforward. Here's how to enable it on your iPad or Mac:
- iPad:
Swipe down from the top-right corner of your screen to open Control Center.
Tap the Stage Manager button
You can also turn Stage Manager on or off from the Settings app:
Open the Settings app.
Tap Multitasking & Gestures.
To turn Stage Manager on, select Stage Manager. To turn it off, select Off, or select Split View & Slide Over to multitask another way.
- Mac:
On your Mac, choose Apple menu > System Settings, then click Desktop & Dock in the sidebar. (You may need to scroll down.) Go to Desktop & Stage Manager on the right, then turn Stage Manager on.
Click Control Centre in the menu bar, then click Stage Manager icon to turn it on.
Supported Devices
Stage Manager is not available on all iPads and Macs. Here's a quick rundown of compatible devices:
iPad:
iPad Pro (M1 and later)
iPad Air (5th generation)
Mac:
- Any Mac powered by the M1 chip or later
Now that Stage Manager is up and running, let's explore some tips on how to use it effectively!
Tips to Become a Stage Manager Master
Stage Manager offers a high level of customisation to fit your workflow. Here are some tips to help you get the most out of it:
Grouping Apps Strategically: The key to effective Stage Manager use lies in creating meaningful app groups. Group apps that you typically use together for specific tasks. For example, create a group for writing with your document editor, notes app, and research browser.
Taking Advantage of the Sidebar: The sidebar in Stage Manager displays all your open windows. Use it to quickly switch between individual apps within a group or open new apps to add to your current group.
Using Full Screen or Split View: Stage Manager allows you to use apps in full screen or split view within a group. Experiment and find the layout that works best for your task.
Creating Multiple Stages: You can create multiple stages on your iPad, essentially having different workspaces for different projects. This is a great way to stay organized and avoid context switching.
Don't Forget Gestures: Mastering gestures on your iPad or Mac will significantly enhance your Stage Manager experience. Use swipes and three-finger taps to navigate between stages, apps, and full screen/split view modes.
By following these tips and exploring Stage Manager's functionalities, you'll be well on your way to becoming a multitasking pro. Stage Manager is a powerful tool that can transform the way you work on your iPad or Mac. So, embrace it, experiment with it, and see how it can boost your productivity!
Advanced Stage Manager Techniques
This section is for those who want to take their Stage Manager mastery to the next level. Here are some advanced techniques to explore:
External Displays: Stage Manager works seamlessly with external displays on compatible iPads and Macs. You can extend your workspace across multiple screens, creating even more flexibility for organising your apps.
App Shortcuts: Leverage the power of App Shortcuts to automate repetitive tasks within Stage Manager. For instance, create a shortcut that opens your go-to writing group with a single tap.
Third-Party Apps: Explore third-party apps designed to enhance Stage Manager's functionality. These apps might offer features like window management tools or additional customisation options.
Conclusion
Stage Manager is a significant addition to iPadOS and macOS, offering a new level of organisation and efficiency for multitasking. With its intuitive interface and wide range of customisation options, Stage Manager can be a valuable tool for anyone who wants to get more out of their iPad or Mac. So why not give it a try? But remember, Stage Manager is still a relatively new feature, and Apple is likely to introduce new functionalities and refinements in future updates. Stay tuned for exciting developments!

